Electric car
Budget electric car conversion. (continuation)
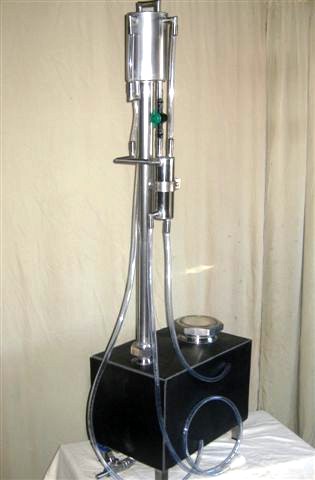
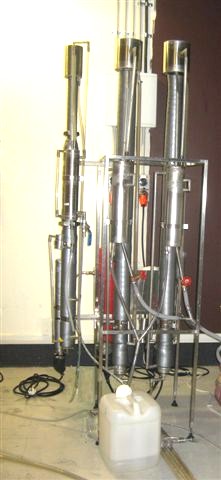
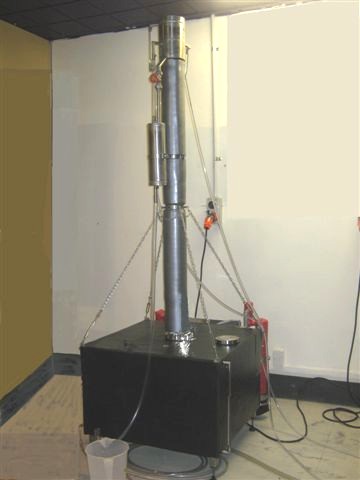
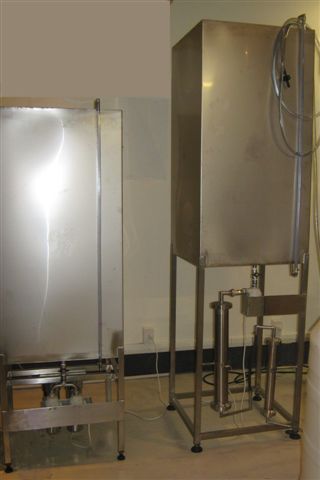
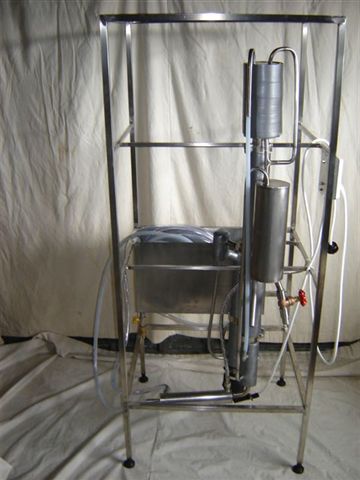
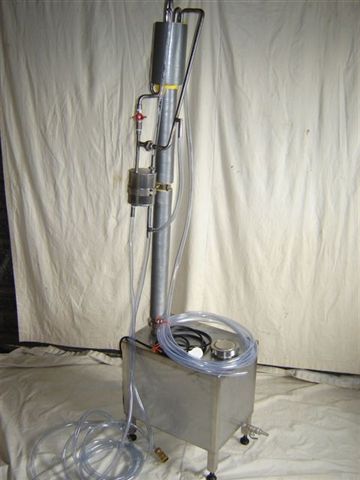
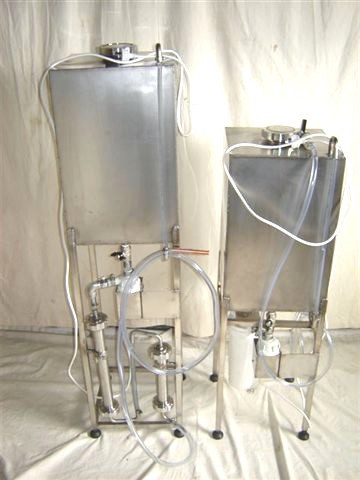
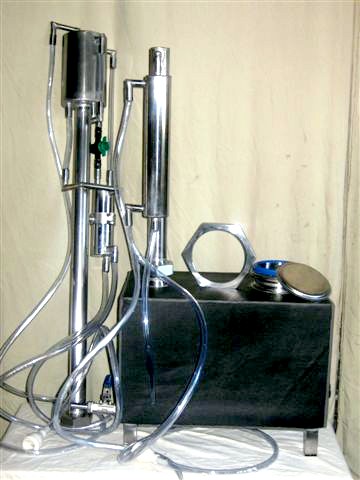
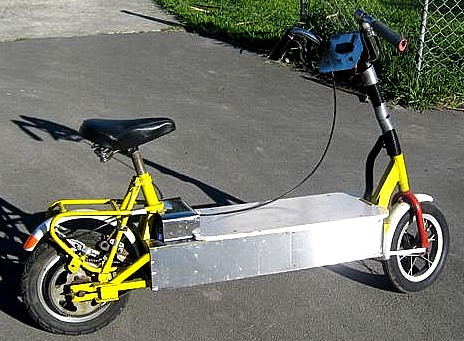
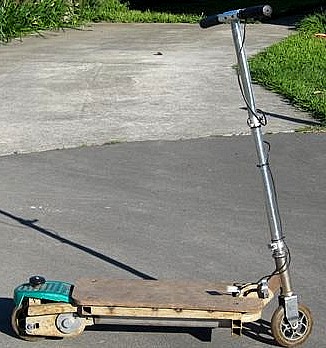
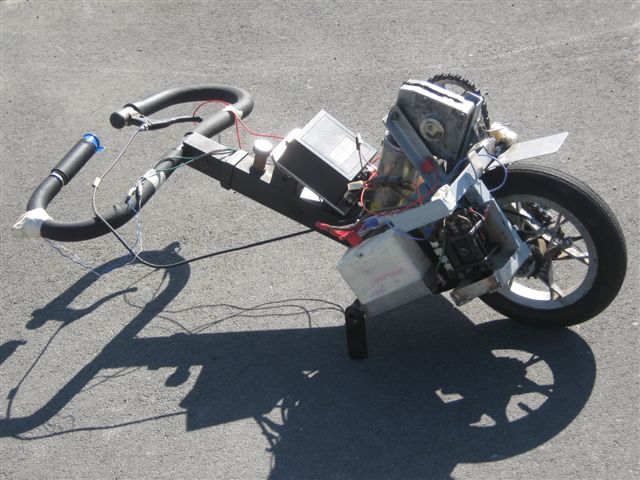
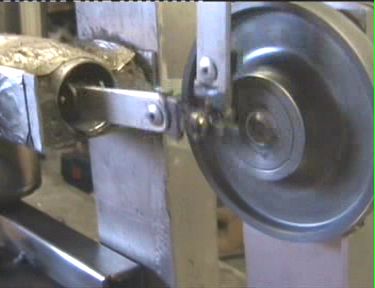
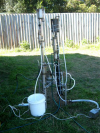
On picture below you can see the pump and electric motor arrangement, the motor that you see on picture is testing motor only, rated at 240v ac - just to check the pump's performance while we are on the quest for the small dc motor Finally we get the motor - 24v, 0.33Hp and continuous rated, and as you see there is another problem because the nominal system voltage of our car is 48 volt and fully charged flooded NI-CAD batteries will get up to 64 volt and power steering motor that rated only at 24 volt will definitely blow up with application of 48v and above voltage, thus we have to find some sort of solution, and the most obvious one is to apply an extra one DC/DC converter and as you see the quest for the motor brought us to the quest for the converter. On pictures below you see the motor and pump is installed completely and ready to be powered up.   I would like to remind you that our conversion is totally budget one and all those motors and converters were found on recycle places and junky yards, also were bagged for at some forklift related engineering companies and in most cases were ready to be thrown away, the motor controller for example was removed from a completely dismantled golf cart that was found on junk yard. Here is my battery pack that came from my previous conversion and before that these pocket type flooded NI-Cad cells were discarded from the Antarctica based Scott base, they never been used but their shelf life expired in 2002 so they were transported to New Zealand to collect a dust in storage of one local battery dealer - disposer, and this batteries were the biggest expense of our conversion I paid NZD1200 to get this batteries, I just knew that actual life of this cells will start from the time of the first charging cycle. So now we have to solve then problem of battery arrangement and think of how to fit all 80 cells under the hood. Each cell is rated at 30amps and 1.2v nominal, we will arrange the battery in two parallel strings of 48 volt each. 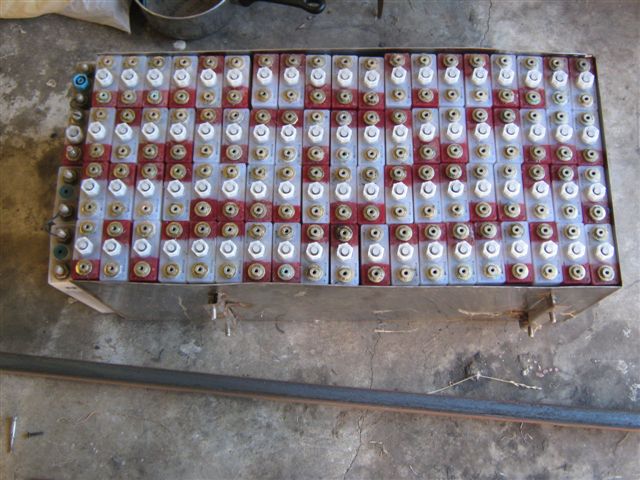 The following pictures are shows the sequence of the supporting frame construction, we decided to build the frame that will follow all bends of the car's chassis box sections and utilize the original mounting spots with the threads in them (many Japanese cars are designed to utilize different power plants, ranges of engine models and also some additional components - so there are plenty of ready threaded spots that can be used for electric components fastening, including our frame that will support the battery racks). 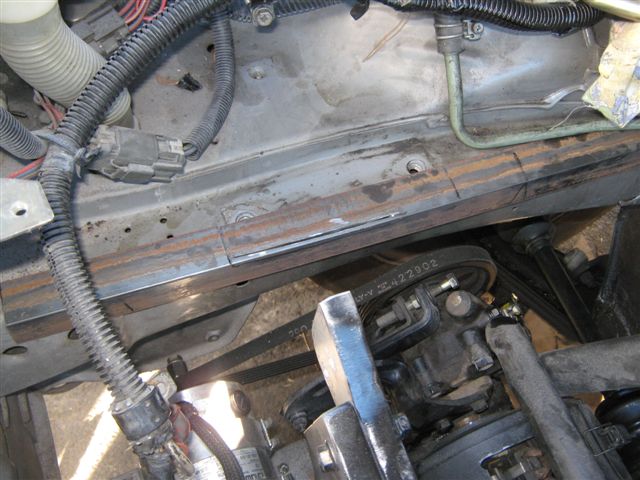 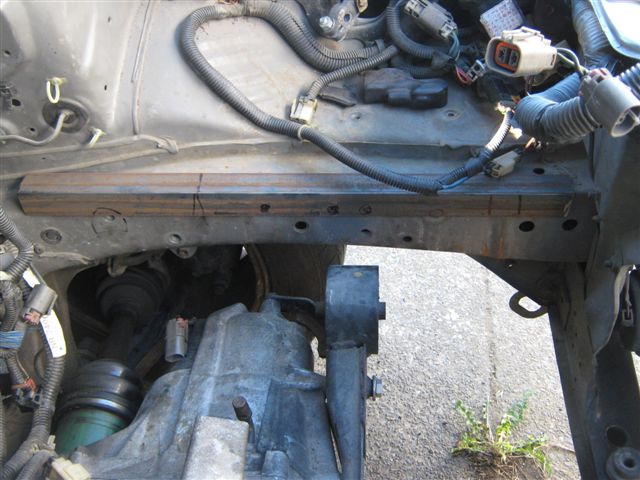 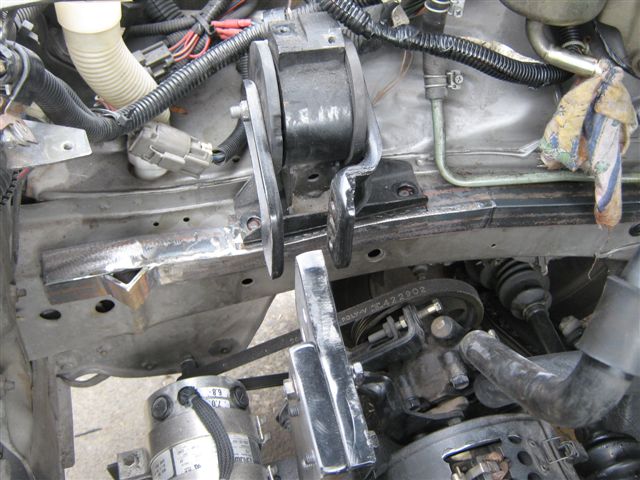 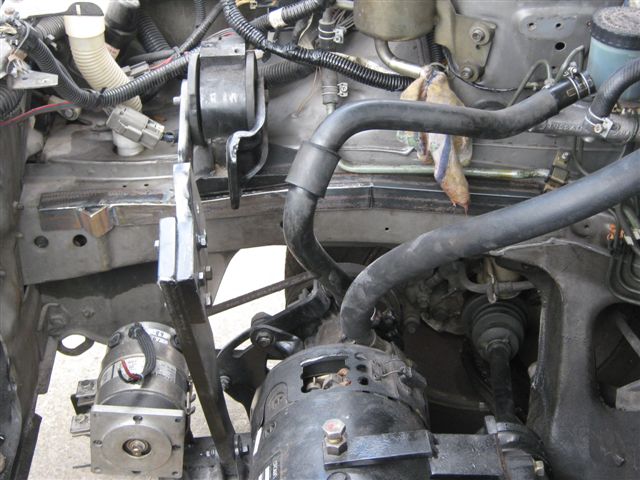 Slowly we carry on the fabrication of the frames parts that will be bolted to the car's chassis, as you can see on pictures the fabrication is required some welding and metal fabrication skill, for all welding that was performed in our conversion we used a TIG welder that gives very accurate results. On picture below you can see that one part of the frame is finished and drilled and will be sandwiched between the engine mount and the chassis. 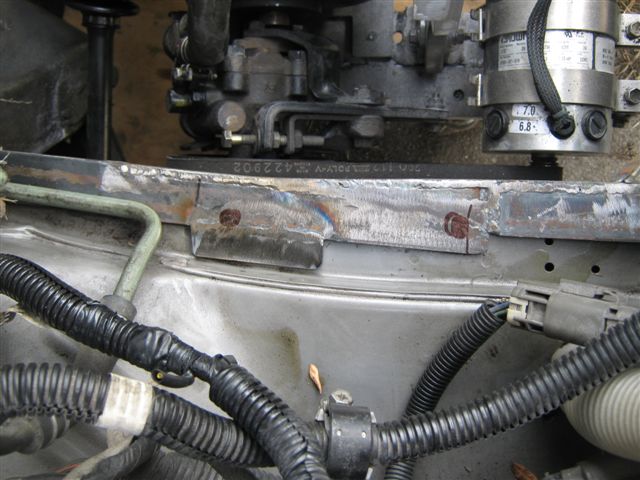 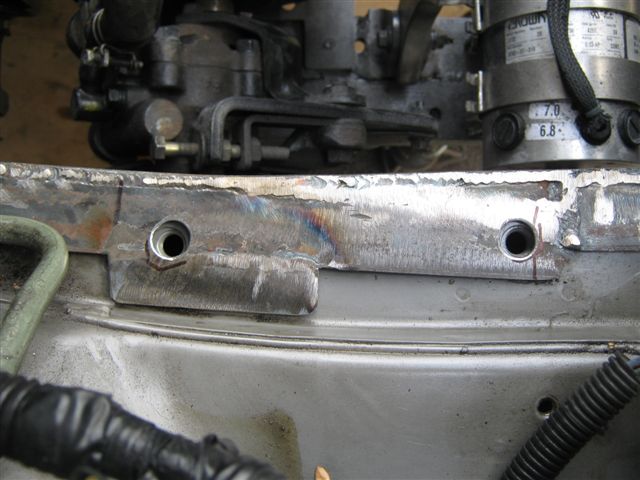 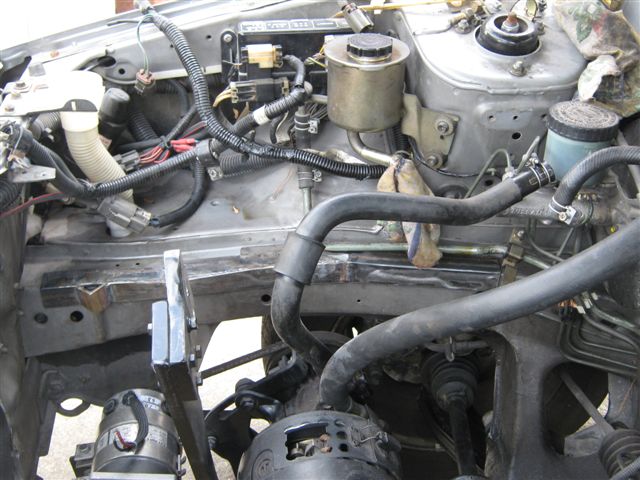 The chassis box sections on opposite sides of the car are constructed differently and our frame components are should be different as well, on the picture below you can see the construction of the opposite element of the frame, the frame on this side will be also sandwiched between the engine mount and the car's chassis but not at the top like the opposite component of the frame, we also utilized the mounting points that were available.  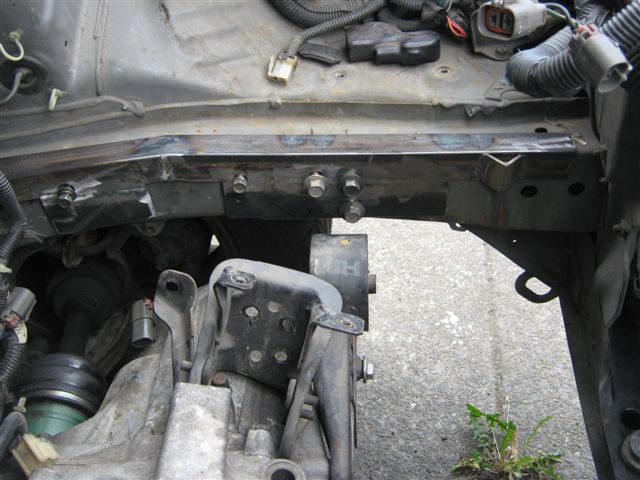 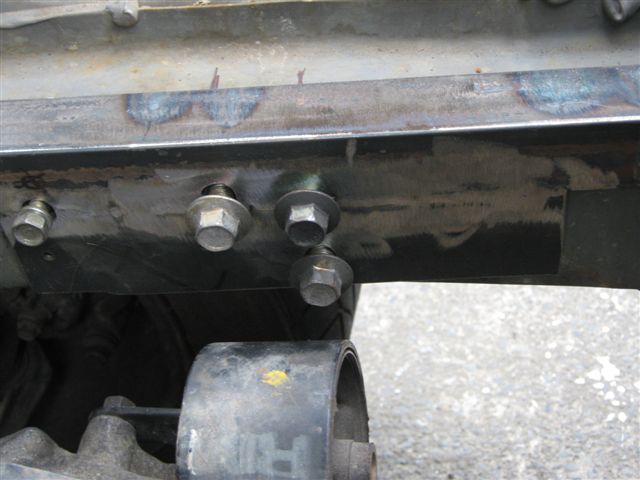 On pictures below you can see the frame sides are licked with each other by steel angles, welded, painted and bolted to the car's chassis. 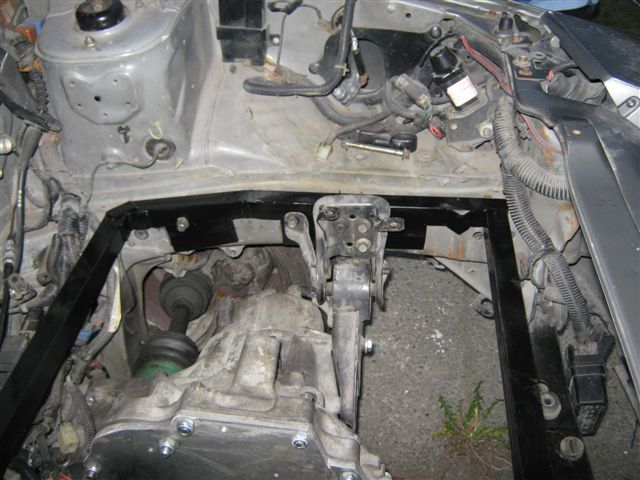 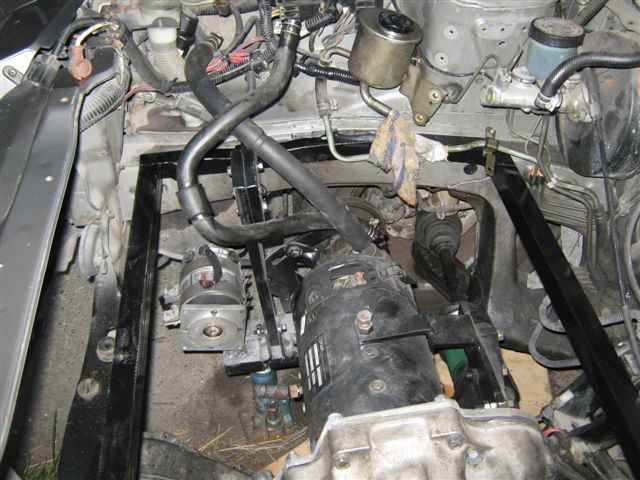 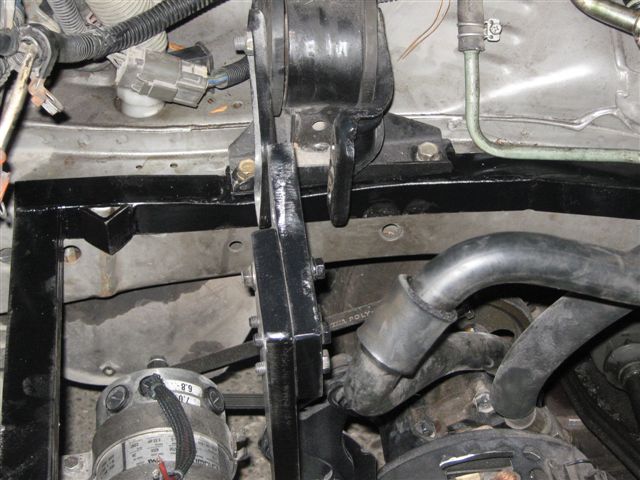 Now we have to think of how to make and locate the battery racks and battery boxes, plus we should locate and design components layout so that in case of impact we still have our brakes performing, thus we will locate our battery boxes away from the brake system line and also will live enough room for other components installation and service, moreover we should locate our batteries as low as possible and make sure that there is enough room for bonnet to be closed without touching our components. To fit all the batteries under the hood we need to divide the battery pack by two unequal parts- thus the bigger battery box will be installed over the electric motor and will include 56 batteries out of 80 total, the second battery box will be located over the gearbox and consist out of 26 remaining batteries, this layout will provide us with enough room for batteries and other components. 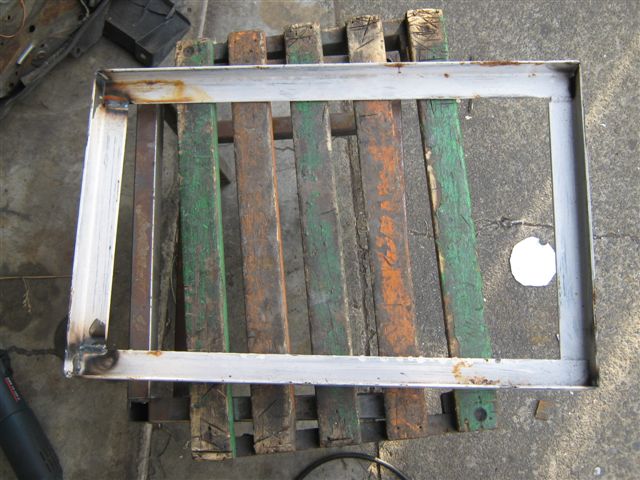 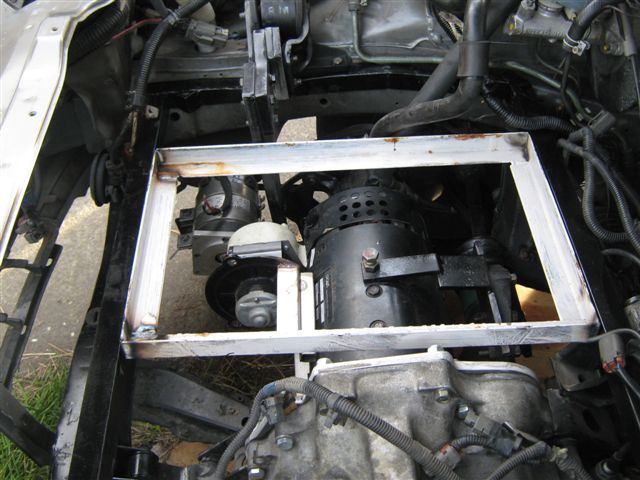 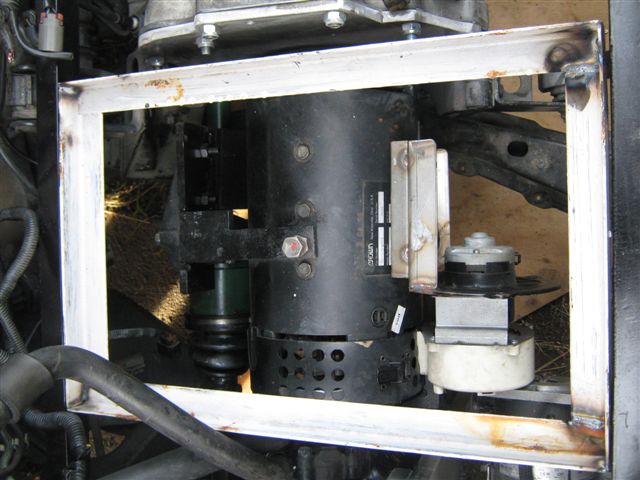 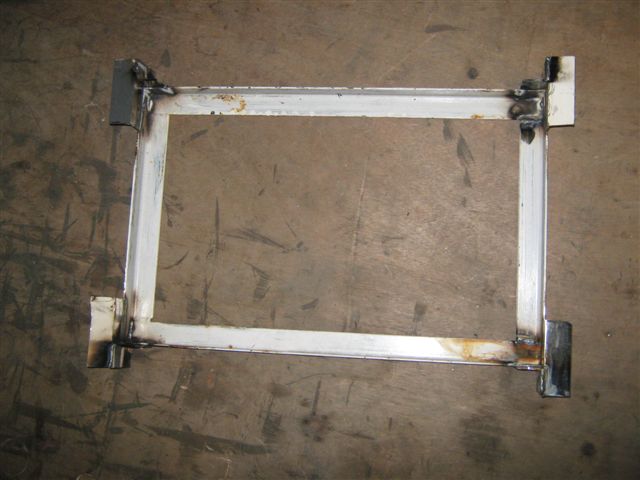 The battery rack is welded and ready for painting and installation, the rack will be bolted to the supporting frame later with the threaded steel rods that will also secure the battery box on place.  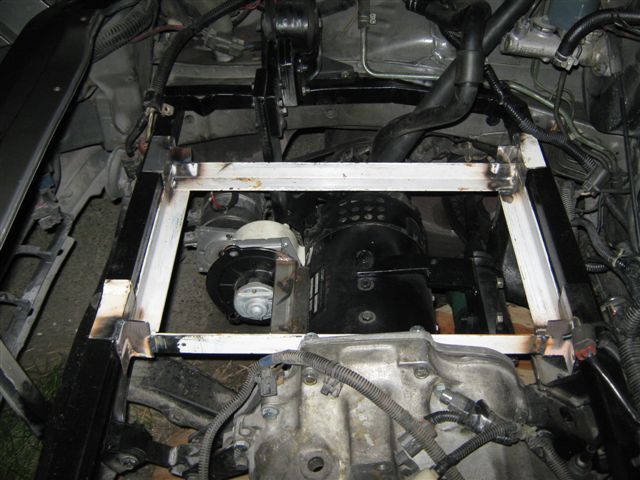 On the pictures below you can also see the small electric motor attached to the side of our traction motor, this small motor is 12 Volt radiator fan motor, the blades were removed and the cooling fan from the microwave oven is attached to the motor, also this small motor is attached to the frame that is bolted to the big motor, the open fan end is pointed into the brash area of traction motor, so as you understand this motor will provide some additional cooling of the traction electric motor by forcing the air into the motor. the cooling motor is connected to the DC/DC converter via relay, this relay is switched on by the signal from the accelerator/potentiometer - so the cooling fan is working only when cat is mowing or traction motor is rotating. 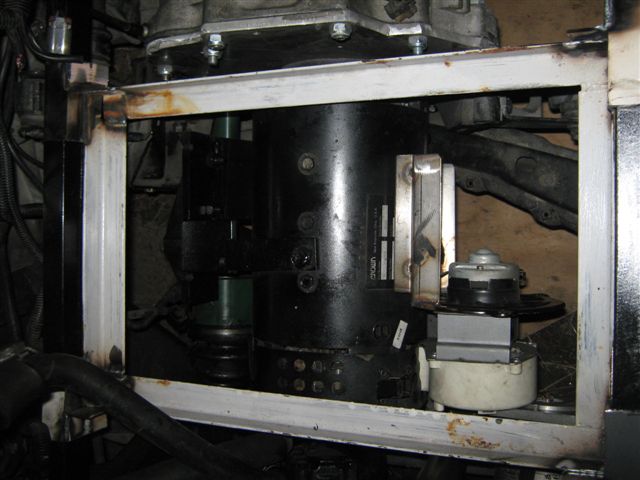 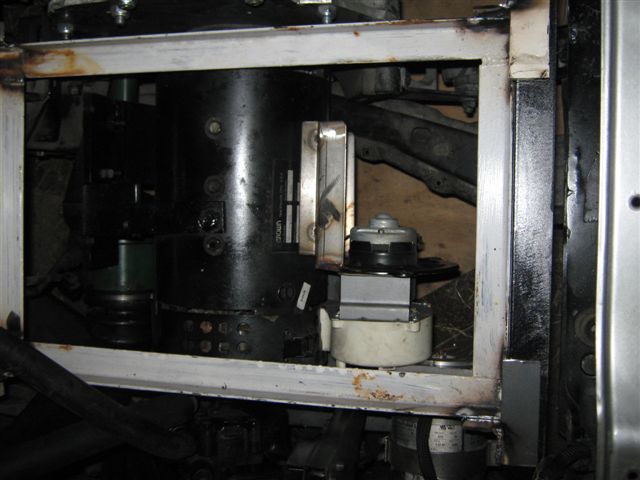 Continue to page 4. |